We use cookies for analytics and advertising. Ads are disabled until you accept advertising cookies. Read our Cookie Policy and Privacy Policy.
How to Serve LLMs with TensorRT-LLM | TVerge Tech
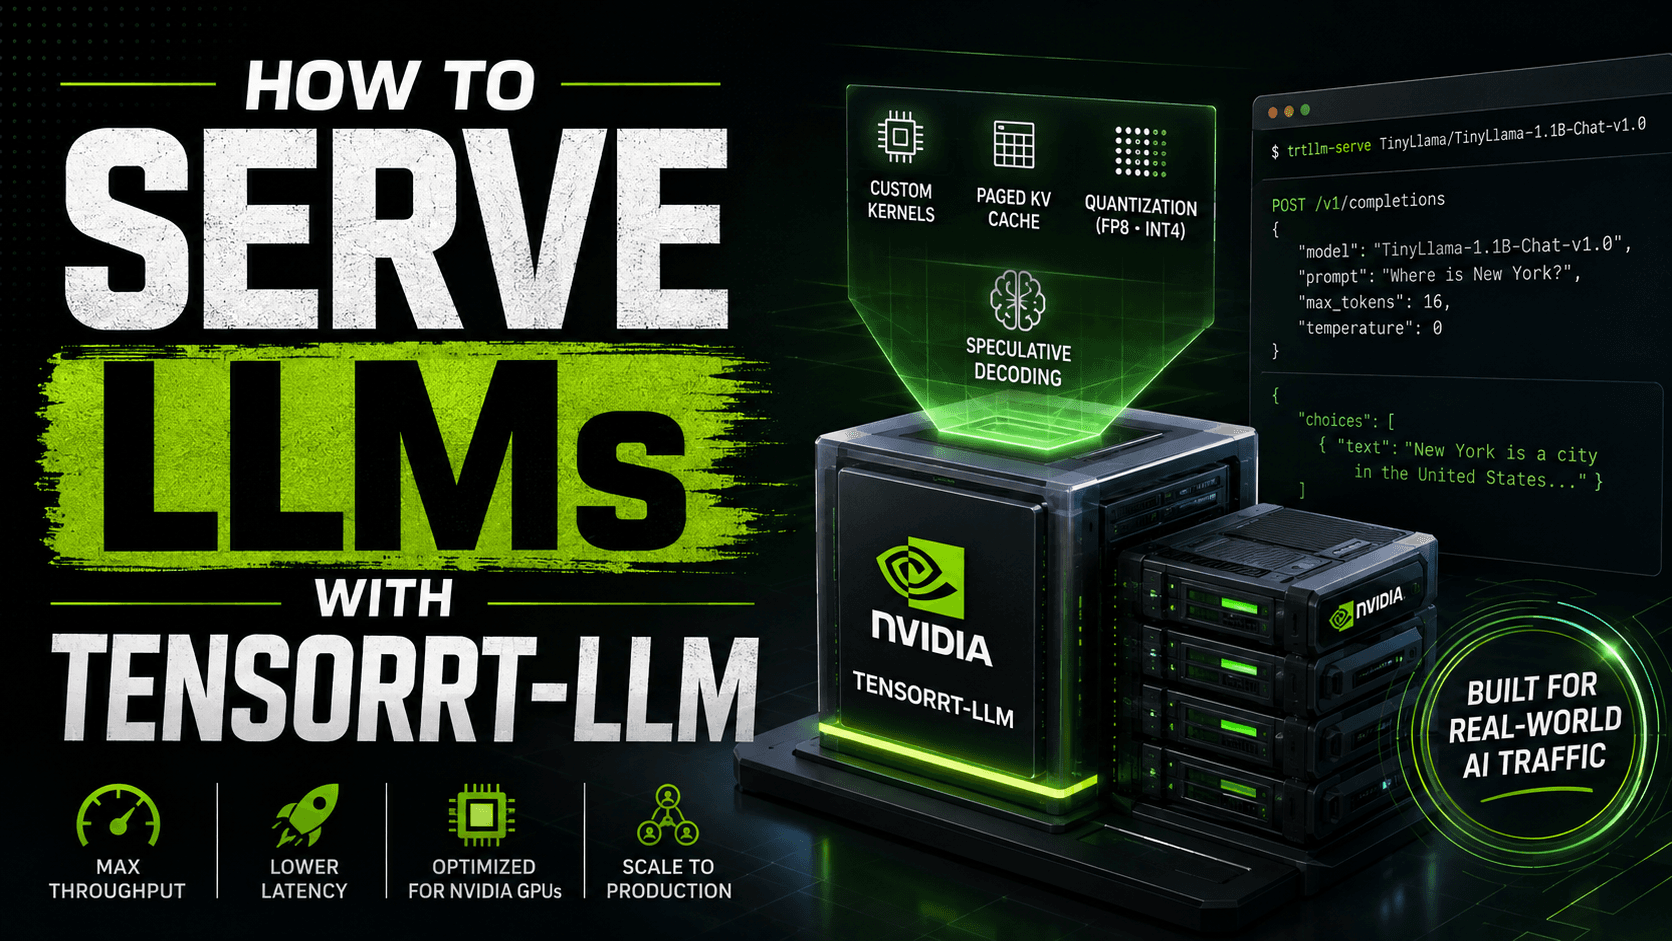
How to Serve LLMs with TensorRT-LLM
A step-by-step guide to installing TensorRT-LLM, launching an OpenAI-compatible server with trtllm-serve, deploying an FP8-quantized model, and calling it from curl or the OpenAI Python client
By the end of this walkthrough you'll have an OpenAI-compatible inference server running a real model on your own GPU through NVIDIA's TensorRT-LLM, plus a working example of swapping in an FP8-quantized checkpoint for lower memory use and higher throughput. This isn't a "hello world" — trtllm-serve handles the engine compilation and batching internals for you, but getting the prerequisites, container flags, and endpoint calls right on the first try is where most people lose an afternoon.
Prerequisites
An NVIDIA GPU on the supported hardware list — TensorRT-LLM's FP8 path in particular needs Hopper, Ada, or Blackwell-generation silicon.
Docker with the NVIDIA Container Toolkit installed, so --gpus all is available to docker run.
An NGC account is not required to pull the public release image, but a stable internet connection is, since the container is several gigabytes.
Roughly 20GB of free disk space for the container image plus model weights, more if you're pulling a larger checkpoint than the example model used here.
Step 1: Pull the TensorRT-LLM Release Container
TensorRT-LLM ships as a pre-built container on NGC, which is the fastest path to a working server — it bundles the compiled library, CUDA runtime, and CLI so you skip the pip/CUDA-Toolkit dependency chain entirely.
Replace the version tag with whatever the current release tag is by the time you run this — NVIDIA ships new tags frequently, and pinning an old one silently misses recent kernel and quantization fixes.
Expected output: Docker prints the standard layer-by-layer pull progress, ending in Status: Downloaded newer image for nvcr.io/nvidia/tensorrt-llm/release:1.3.0rc24.
Step 2: Launch the Container with GPU Access
Start the container with the GPU, IPC, and memory-lock flags TensorRT-LLM's runtime expects, and publish port 8000 so the server is reachable from outside the container.
docker run --rm -it --ipc host --gpus all \
  --ulimit memlock=-1 --ulimit stack=67108864 \
  -p 8000:8000 \
  nvcr.io/nvidia/tensorrt-llm/release:1.3.0rc24
The --ulimit memlock=-1 and --ulimit stack=67108864 flags aren't cosmetic — TensorRT-LLM's CUDA kernels and pinned-memory transfers can fail or silently underperform without them, and --ipc host avoids shared-memory errors that otherwise show up under any real batch size.
You should now be at a shell prompt inside the container. Confirm the install before going further:
python3 -c "import tensorrt_llm"
Expected output: no errors, and you'll see a short version-info log line printed by the import itself (TensorRT-LLM logs its version on first import). A traceback here means the GPU driver isn't visible inside the container — check that the NVIDIA Container Toolkit is installed on the host and that docker run --gpus all actually exposes a device with nvidia-smi.
Step 3: Start the Server with trtllm-serve
trtllm-serve is the command that turns a Hugging Face model name into a running OpenAI-compatible HTTP server — it handles engine compilation, batching, and the KV cache under the hood, so you don't call trtllm-build separately for this path.
trtllm-serve "TinyLlama/TinyLlama-1.1B-Chat-v1.0"
The first launch will take longer than subsequent ones, since TensorRT-LLM downloads the checkpoint from Hugging Face and compiles it into an optimized engine for your specific GPU before it starts accepting requests.
Expected output: a series of initialization logs ending in a line indicating the server is listening — at that point v1/chat/completions and the other OpenAI-compatible routes are live on port 8000.
Step 4: Call the Server with curl
Open a second terminal on the host — if you're not exposing the port, attach to the running container instead with docker exec -it <container_id> bash — and send a chat completion request.
curl -X POST http://localhost:8000/v1/chat/completions \
    -H "Content-Type: application/json" \
    -H "Accept: application/json" \
    -d '{
        "model": "TinyLlama/TinyLlama-1.1B-Chat-v1.0",
        "messages":[{"role": "system", "content": "You are a helpful assistant."},
                    {"role": "user", "content": "Where is New York? Tell me in a single sentence."}],
        "max_tokens": 32,
        "temperature": 0
    }'
Expected output: a JSON response with a choices array containing the generated text, plus a usage block reporting prompt and completion token counts — the exact shape any OpenAI SDK already expects, which is what makes this endpoint a drop-in replacement in existing client code.
Step 5: Call the Server from the OpenAI Python Client
Because trtllm-serve speaks the OpenAI wire format, the standard openai Python package works against it with no custom client:
from openai import OpenAI

client = OpenAI(
    base_url="http://localhost:8000/v1",
    api_key="tensorrt_llm",
)

response = client.completions.create(
    model="TinyLlama-1.1B-Chat-v1.0",
    prompt="Where is New York?",
    max_tokens=20,
)
print(response)
The api_key value is a placeholder — trtllm-serve doesn't enforce authentication by default, but the OpenAI client library requires a non-empty string to be set.
Checkpoint: if this prints a completion object without a connection error, your server is correctly serving OpenAI-shaped responses and any tooling built against the OpenAI API — LangChain, LiteLLM, or a hand-rolled client — can point at it by changing only the base_url.
Step 6: Swap in an FP8-Quantized Model for Lower Memory and Higher Throughput
Everything above used a small, unquantized model to get the workflow working end to end. For anything larger, quantization is where TensorRT-LLM's real advantage shows up. Stop the current server (Ctrl+C) and relaunch with a pre-quantized checkpoint instead:
trtllm-serve "nvidia/Qwen3-8B-FP8"
Bold warning: FP8 quantization requires Hopper, Ada, or Blackwell-generation hardware — running this against an older GPU architecture will fail at engine-build time rather than silently falling back to a slower path.
This checkpoint comes from NVIDIA's Model Optimizer collection, meaning the FP8 calibration was already done upstream — you're not running your own quantization pass, just pointing trtllm-serve at weights that are already prepared for it. Browse the full collection of quantized checkpoints if you want a different model at a different size.
Expected output: the same style of startup logs as Step 3, but you should notice a smaller GPU memory footprint reported for the loaded engine compared to running the equivalent model at full precision — that reduction is the direct, measurable payoff of serving an FP8 checkpoint instead of an FP16 one.
Common Errors
CUDA error: no kernel image is available for execution on the device — your GPU's compute capability doesn't match what the engine was compiled for. This usually means you're trying to run an FP8 engine on pre-Hopper hardware, or a container built for a different CUDA Toolkit version than your driver supports.
Container exits immediately with no GPU error — check --gpus all actually resolved to a device by running nvidia-smi inside the container before starting trtllm-serve; a missing or misconfigured NVIDIA Container Toolkit causes this to fail silently rather than raising a clear error.
openai client raises a connection refused error — the server logs its "ready" line only after engine compilation finishes; sending a request during that compilation window fails because nothing is listening on port 8000 yet.
PyTorch gets downgraded during a pip install tensorrt_llm (if you're using Option 2 from the installation guide instead of the container) — pip can silently replace an existing CUDA 13.0-compatible PyTorch build with a CUDA 12.8 one, breaking the install; pin your current torch version in a constraints file before installing.
Next Steps
You now have a running, OpenAI-compatible TensorRT-LLM server and a working comparison point between an unquantized and an FP8-quantized deployment. From here, the two most useful directions are tuning --extra_llm_api_options for KV cache and batching behavior, and moving from the single-command trtllm-serve path to explicit trtllm-build engine compilation if you need multi-GPU tensor parallelism that the quick-start flow doesn't expose by default.
3Demystifying the Rust Borrow Checker: Fix Lifetime Errors Fast