We use cookies for analytics and advertising. Ads are disabled until you accept advertising cookies. Read our Cookie Policy and Privacy Policy.
How to Deploy Kimi K3 on AWS (HyperPod & EKS Guide) | TVerge Tech
How to Deploy Kimi K3 on AWS (HyperPod & EKS Guide)
A step-by-step guide to deploying Moonshot AI's 2.8T-parameter Kimi K3 on AWS using SageMaker HyperPod or Amazon EKS, with vLLM manifests and verification steps.
How to Deploy Kimi K3 on AWS (HyperPod & EKS Guide)
By the end of this guide, you'll have a working, OpenAI-compatible inference endpoint serving Moonshot AI's Kimi K3 — a 2.8-trillion-parameter Mixture of Experts (MoE) model — on your own AWS infrastructure. This isn't a trivial deployment: Kimi K3 doesn't fit on standard GPU instances, requires a purpose-built vLLM container rather than the stock image, and needs reserved GPU capacity procured ahead of time rather than pulled from the on-demand pool. Getting each of those pieces wrong is the difference between an endpoint that boots and one that OOMs on model load.
Prerequisites
An AWS account with quota and reserved-capacity access for ml.p6-b300.48xlarge (8x NVIDIA B300 Blackwell Ultra GPUs per instance)
Either a Flexible Training Plan (for SageMaker HyperPod) or an EC2 Capacity Block reservation (for EKS) covering p6-b300 instances in your target Availability Zone
kubectl installed and configured to reach your cluster
IAM permissions to create SageMaker HyperPod clusters and/or EKS clusters
Familiarity with basic Kubernetes concepts (manifests, Services, node groups)
No Hugging Face account is strictly required — the deployment paths below pull moonshotai/Kimi-K3 directly, though you can mirror the weights to Amazon S3 for faster loading
Understanding Why Kimi K3 Needs Specific Infrastructure
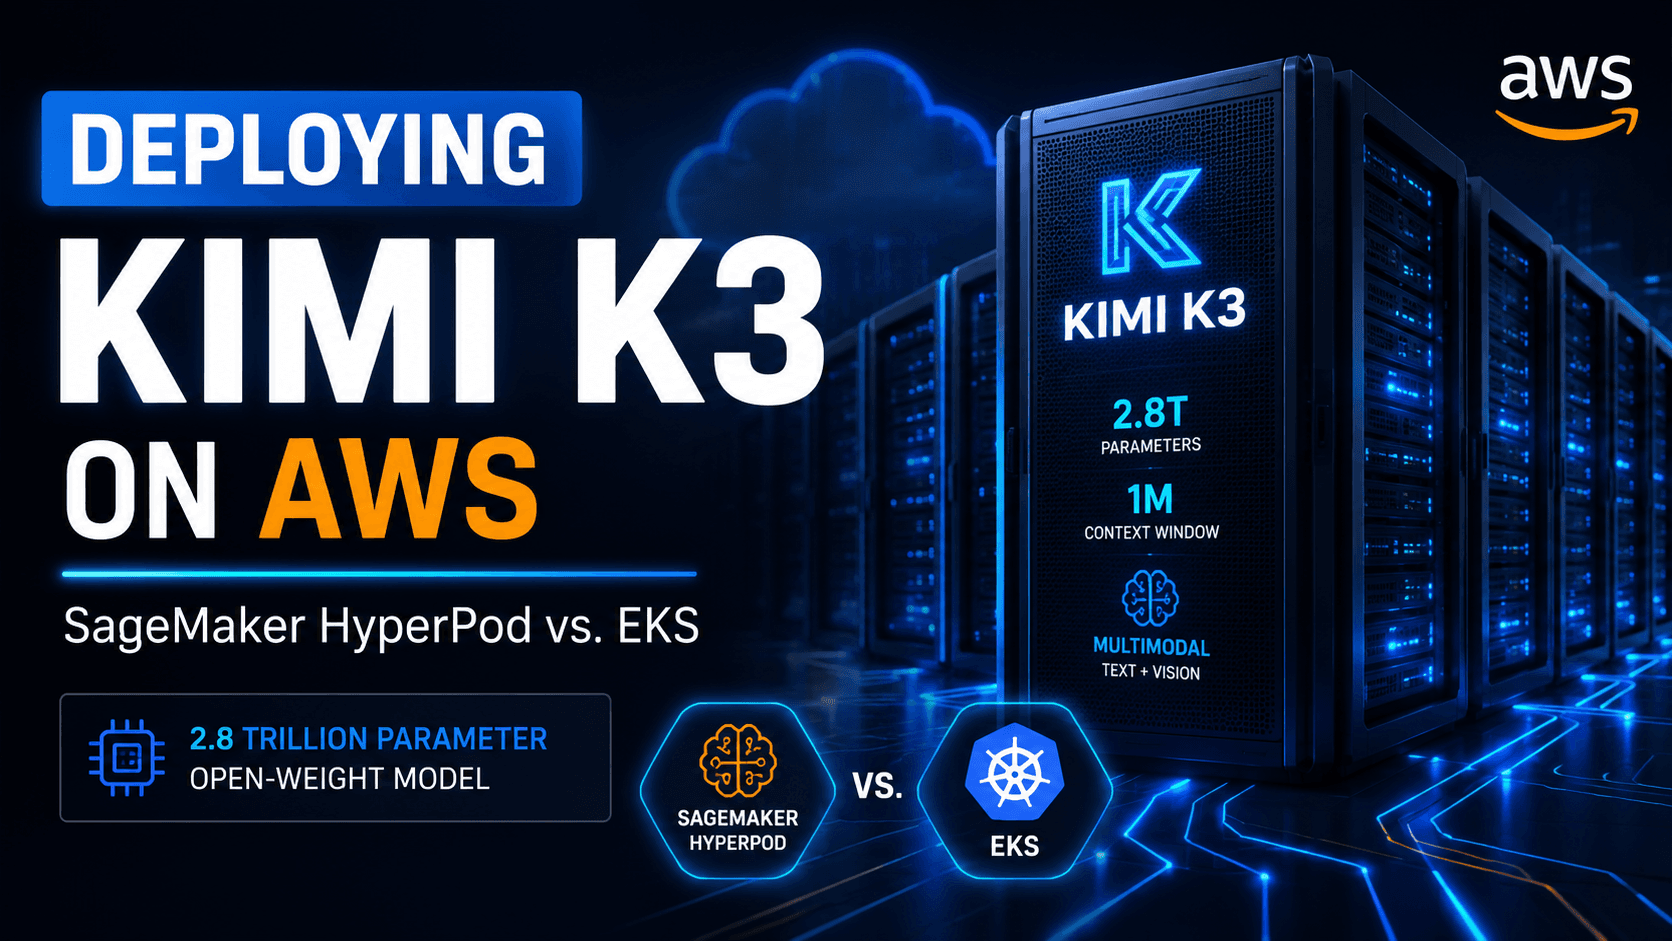
Kimi K3's architecture directly dictates the hardware you need, so it's worth understanding before you provision anything. The model combines Kimi Delta Attention (KDA), Gated Multi-Head Latent Attention (MLA), and a Stable LatentMoE framework, spreading its 2.8 trillion total parameters across 896 experts, of which only 16 activate per token. That routing means roughly 104 billion parameters are active on any single forward pass — a 2.5x efficiency gain over Kimi K2's dense-compute pattern, but still far beyond what a single standard GPU node can hold.
The weights ship in MXFP4 (Microscaling Floating Point 4-bit) format on Hugging Face under the model ID moonshotai/Kimi-K3 (huggingface.co/moonshotai/Kimi-K3). Serving them requires a Kimi-specific build of vLLM — at the time of writing this lives at vllm/vllm-openai:kimi-k3 rather than the mainline vLLM image, since native MoE routing and MXFP4 support for this model haven't merged upstream yet. AWS's supported instance for tensor-parallel inference across the full expert pool is the ml.p6-b300.48xlarge, which provides 8 NVIDIA B300 Blackwell Ultra GPUs with the interconnect bandwidth the routing layer needs.
Because that instance type sits outside typical on-demand availability, AWS gives you two ways to guarantee capacity: a Flexible Training Plan for HyperPod clusters, or an EC2 Capacity Block reservation that EKS worker nodes can join.
SageMaker HyperPod vs. Amazon EKS: Which Path Should You Take?
SageMaker HyperPod vs. Amazon EKS: HyperPod's Inference Operator installs automatically at cluster creation and handles container scheduling, model loading, and endpoint health checks for you — the faster path if you don't want to own Kubernetes operations. A self-managed EKS cluster gives you direct control over networking, node groups, and the serving stack, at the cost of assembling that infrastructure yourself (Terraform modules and Helm charts included). Both land on the same underlying instance type and vLLM container — the difference is entirely in who operates the orchestration layer.
If you're unsure which to pick, start with HyperPod; move to EKS only once you have a specific reason (existing EKS estate, custom autoscaling logic, non-standard networking) to own the extra operational surface.
Path A: Deploying on SageMaker HyperPod
Step 1: Create a HyperPod Cluster Orchestrated by EKS
In the SageMaker AI console, go to HyperPod Clusters > Cluster Management > Create HyperPod cluster, then choose Orchestrated by Amazon EKS. Pick Quick setup if you want default networking, storage, and IAM resources provisioned for you, or Custom setup to attach an existing VPC, subnets, and security groups. Under Orchestration, either create a new EKS cluster or attach an existing one, and confirm Use default Helm charts and add-ons is selected — this is what installs the Inference Operator automatically. Under Instance groups, add a worker group using the ml.p6-b300.48xlarge instance type, then choose Submit.
Checkpoint: The cluster should transition through provisioning states in the console. Don't proceed to Step 3 until it shows an Active status with healthy p6-b300 nodes.
Step 2: Attach a Flexible Training Plan for Capacity
The ml.p6-b300.48xlarge instance type requires reserved capacity — it won't schedule against the general on-demand pool. In the instance group configuration, set Training plan as the capacity source, then either select an existing plan covering p6-b300 capacity or create a new reservation specifying instance count and duration. Set the Target Availability Zone to match where that training plan capacity is actually allocated, or the instance group will fail to launch. Full eligibility rules and reservation mechanics for Flexible Training Plans are covered in Reserve training plans for your training jobs or HyperPod clusters.
Step 3: Apply the InferenceEndpointConfig Manifest
Save the following as kimi-k3.yaml. This tells the Inference Operator which model to pull, which container to run it in, and how to shape the vLLM launch arguments for Kimi K3's MoE routing and tool-calling support.
Expected output:inferenceendpointconfig.inference.sagemaker.aws.amazon.com/kimik3 created. The Inference Operator takes over from here — pulling the container, downloading weights from Hugging Face, and running health checks — until the endpoint reports ready.
This manifest is also maintained as a reference example in AWS's SageMaker GenAI hosting samples repository: sagemaker-genai-hosting-examples.
A few argument choices are worth understanding rather than copy-pasting blind: --tensor-parallel-size 8 splits the model's compute across all 8 GPUs on the node, matching the instance's GPU count exactly; --tool-call-parser kimi_k3 and --reasoning-parser kimi_k3 are required because Kimi K3's tool-calling and always-on thinking-mode output don't match the generic OpenAI-style parser vLLM defaults to; and fastsafetensors as the load format meaningfully cuts weight-loading time for a checkpoint this size.
Path B: Deploying on Amazon EKS
Choose this path if you want to own the Kubernetes layer directly rather than delegate it to the Inference Operator. The AI on EKS project (awslabs/ai-on-eks) provides a recipe that automates most of this end to end.
Step 1: Provision the EKS Cluster with Terraform
Use the project's Terraform modules to stand up a GPU-optimized EKS cluster — VPC networking, managed node groups, and the IAM roles GPU workloads need are handled by the module rather than assembled by hand.
terraform init
terraform apply
Checkpoint:terraform apply should complete without errors and output your cluster's name and endpoint.
Step 2: Reserve GPU Capacity with EC2 Capacity Blocks
Create a Capacity Block reservation for p6-b300.48xlarge in your target Availability Zone. Unlike a Flexible Training Plan, a Capacity Block is a defined time window rather than an open-ended reservation — once it goes active, the reserved instances join your EKS cluster as worker nodes automatically.
Step 3: Install the NVIDIA Device Plugin
The AI on EKS recipe installs the NVIDIA device plugin and GPU drivers on the new node group as part of its setup, which is what lets Kubernetes actually see and schedule against the 8 GPUs per node. If you're building this by hand instead of using the recipe, confirm the device plugin DaemonSet is running before moving on:
kubectl get pods -n kube-system -l name=nvidia-device-plugin-ds
Expected output: One Running pod per GPU node.
Step 4: Deploy the vLLM Inference Server via Helm
Apply the Helm chart with Kimi K3-specific values — tensor-parallel size of 8, MXFP4 as the load format, and MoE backend configuration matching the arguments shown in the HyperPod manifest above. Point modelId at moonshotai/Kimi-K3, or sync the weights to Amazon S3 first if you want faster, network-independent loading.
Checkpoint:kubectl get pods should show the vLLM pod transition to Running, and kubectl logs on that pod should show weight loading progress followed by a "Uvicorn running" line once vLLM's server is up.
Step 5: Expose the Endpoint
Create a Kubernetes Service — type LoadBalancer, or route through an existing Ingress controller — to expose the vLLM container's port 8000, which serves the OpenAI-compatible /v1/chat/completions path.
Step 6: Validate the Deployment
Send a test request (see the invocation examples below) and confirm you get a coherent completion back before wiring the endpoint into anything downstream.
Invoking the Endpoint
Both deployment paths expose the same OpenAI-compatible chat completions API — the same interface documented in the official vLLM docs (docs.vllm.ai). Replace <ENDPOINT_URL> with your HyperPod Inference Operator endpoint or your EKS load balancer / ingress address.
Using the OpenAI Python SDK:
from openai import OpenAI

client = OpenAI(
    base_url="http://<ENDPOINT_URL>:8000/v1",
    api_key="not-needed"
)

response = client.chat.completions.create(
    model="Kimi-K3",
    messages=[
        {"role": "system", "content": "You are a helpful assistant."},
        {"role": "user", "content": "Explain the benefits of mixture of experts architectures."}
    ],
    temperature=0.7,
    max_tokens=1024
)
print(response.choices[0].message.content)
Using curl:
curl -X POST http://<ENDPOINT_URL>:8000/v1/chat/completions \
  -H "Content-Type: application/json" \
  -d '{
    "model": "Kimi-K3",
    "messages": [
      {"role": "system", "content": "You are a helpful assistant."},
      {"role": "user", "content": "Explain the benefits of mixture of experts architectures."}
    ],
    "temperature": 0.7,
    "max_tokens": 1024
  }'
Expected output: A JSON response with a populated choices[0].message.content field. If you instead get a connection timeout, the endpoint likely hasn't finished loading weights yet — a 2.8T-parameter checkpoint takes meaningfully longer to load than models you may be used to deploying.
Common Errors
Error
Likely Cause
Fix
Instance group fails to launch
Target Availability Zone doesn't match where your Training Plan or Capacity Block capacity is actually allocated
Confirm the AZ in your instance group config matches the reservation's AZ exactly
Pod stuck in Pending
GPU device plugin not yet running, or requested nvidia.com/gpu: 8 exceeds what a node reports
Verify the device plugin DaemonSet is Running and the node shows 8 allocatable GPUs
Tool calls silently ignored or malformed
Missing or mismatched --tool-call-parser / --reasoning-parser arguments
Confirm both are set to kimi_k3, not left at vLLM's generic default
Endpoint never reaches Ready
Container pulling the generic vLLM image instead of the Kimi-specific build
Confirm the worker image is exactly vllm/vllm-openai:kimi-k3
Clean Up
Both paths reserve expensive GPU capacity, so don't leave them running once you're done testing.
For SageMaker HyperPod:
kubectl delete -f kimi-k3.yaml
Then delete the HyperPod cluster from the SageMaker AI console, and release or cancel your Flexible Training Plan reservation if you no longer need it.
For Amazon EKS:
Delete the vLLM deployment and its associated Services, then tear down the cluster:
terraform destroy
Release your Capacity Block reservation if it hasn't already expired. For current pricing on p6-b300 instances and capacity reservations, check the EC2 pricing page directly — costs at this instance class change frequently enough that any figure here would be stale by the time you read it.
Key Takeaways
Kimi K3's 2.8T-parameter MoE architecture (896 experts, 16 active per token, ~104B active parameters) requires the ml.p6-b300.48xlarge instance — 8 NVIDIA B300 GPUs — for tensor-parallel inference across the full expert pool.
Capacity for this instance type must be reserved ahead of time: a Flexible Training Plan for SageMaker HyperPod, or an EC2 Capacity Block for EKS.
Serving requires the Kimi-specific vllm/vllm-openai:kimi-k3 container, not the mainline vLLM image, along with kimi_k3-specific tool-call and reasoning parsers.
HyperPod's Inference Operator automates container scheduling and health checks; a standalone EKS deployment trades that automation for full operational control.
Both paths converge on the same OpenAI-compatible /v1/chat/completions endpoint once deployed.
FAQ
Does Kimi K3 run on smaller or non-B300 GPU instances? AWS's published guidance specifies ml.p6-b300.48xlarge as the supported instance for full tensor-parallel inference across all 896 experts; smaller instances aren't part of the documented deployment path as of this writing.
What license governs self-hosting Kimi K3? Moonshot AI released the weights as open, with reporting describing the license as a modified MIT variant — confirm the exact terms on the model's Hugging Face card before using it in a commercial product, since license text can be more specific than press coverage suggests.
3Demystifying the Rust Borrow Checker: Fix Lifetime Errors Fast